Top Stories
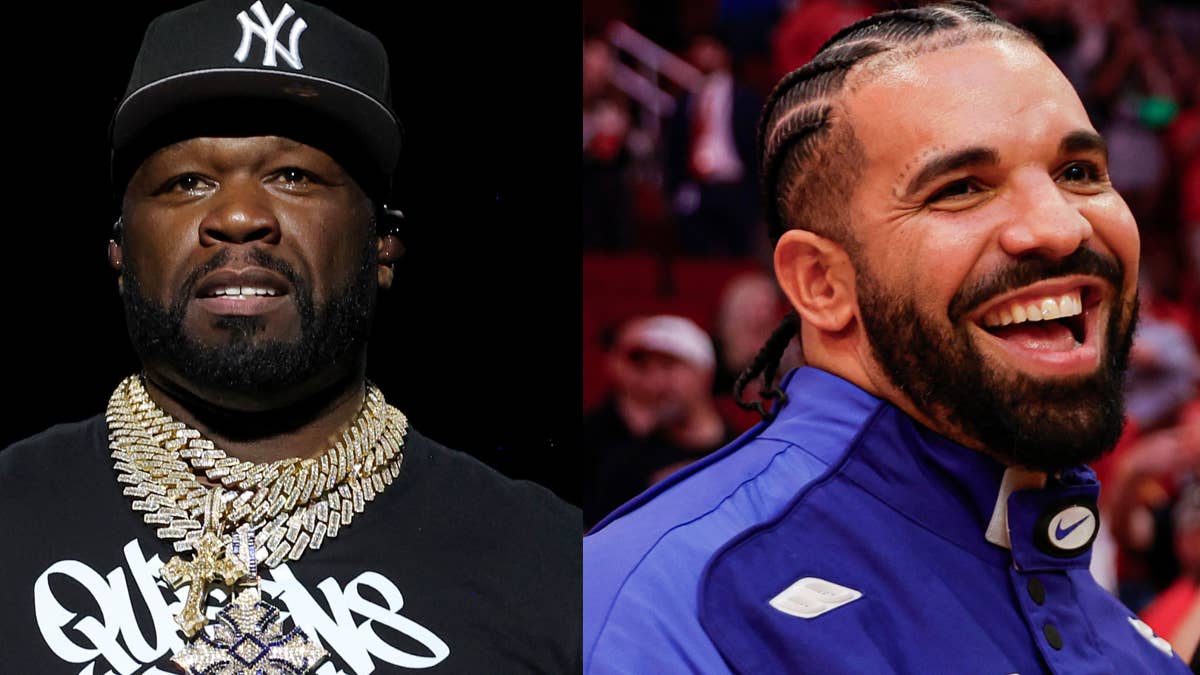
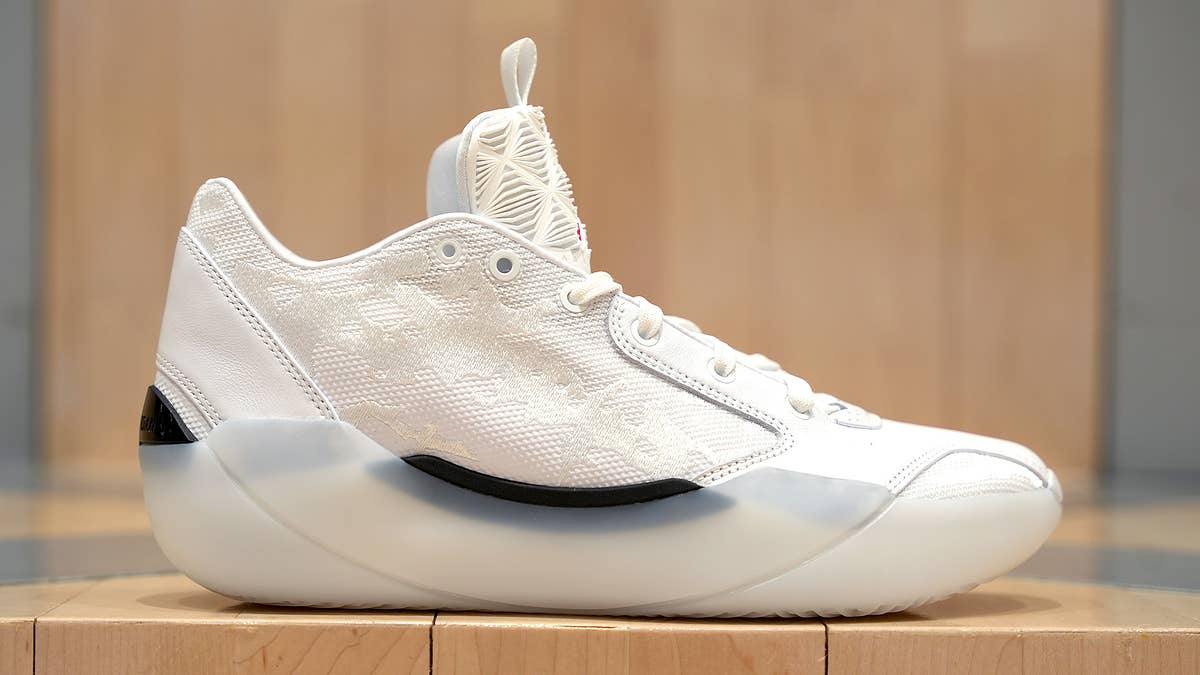
Music | by Alex Ocho Beyoncé Sent Flowers, Toy to 2-Year-Old ‘Friend’ Tyler After Toddler's Video Went Viral Music | by Mark Elibert 50 Cent Shares His ‘Expert Opinion’ on Drake’s Latest Kendrick Lamar Diss: ‘Leave This Man Alone’ Music | by Alex Ocho Nicki Minaj Nearly Gets Hit by Flying Object During Detroit Concert, Throws It Back Into Crowd Sneakers | by Brendan Dunne The Air Jordan 39, Officially Unveiled


Latest Episodes

The Complex Sneakers Show Aaron Cooper on Designing Nikes for Scottie Pippen, Charles Barkley, and Kevin Garnett | The Complex Sneakers Show - Coming Up Next

GOAT Talk MGK & Trippie Redd Fight Over GOAT Diss Song, Video Game, and Emo Rapper | GOAT Talk 
Sneaker Shopping Sexyy Red Goes Sneaker Shopping With Complex The Complex Sneakers Show Debunking Drake's Kendrick Lamar Sneaker Diss | The Complex Sneakers Show The Complex Sneakers Show How Reebok Pumps Took Over the World, With Inventor Paul Litchfield | The Complex Sneakers Show 
That's Deep Ray J Says He’s a Ratchet Scientist and Almost Sets Himself on Fire | That’s Deep GOAT Talk Kid Cudi & Tony Hawk Debate the Best and Worst Things Ever | GOAT Talk Sneaker Shopping Triple H Goes Sneaker Shopping With Complex The Complex Sneakers Show Ian Ginoza on Making Sneaker Magic With Virgil Abloh, Huf, and Nike | The Complex Sneakers Show 
360 With Speedy Will Smith Breaks His Silence | 360 With Speedy
Explore All shows
In the Spotlight
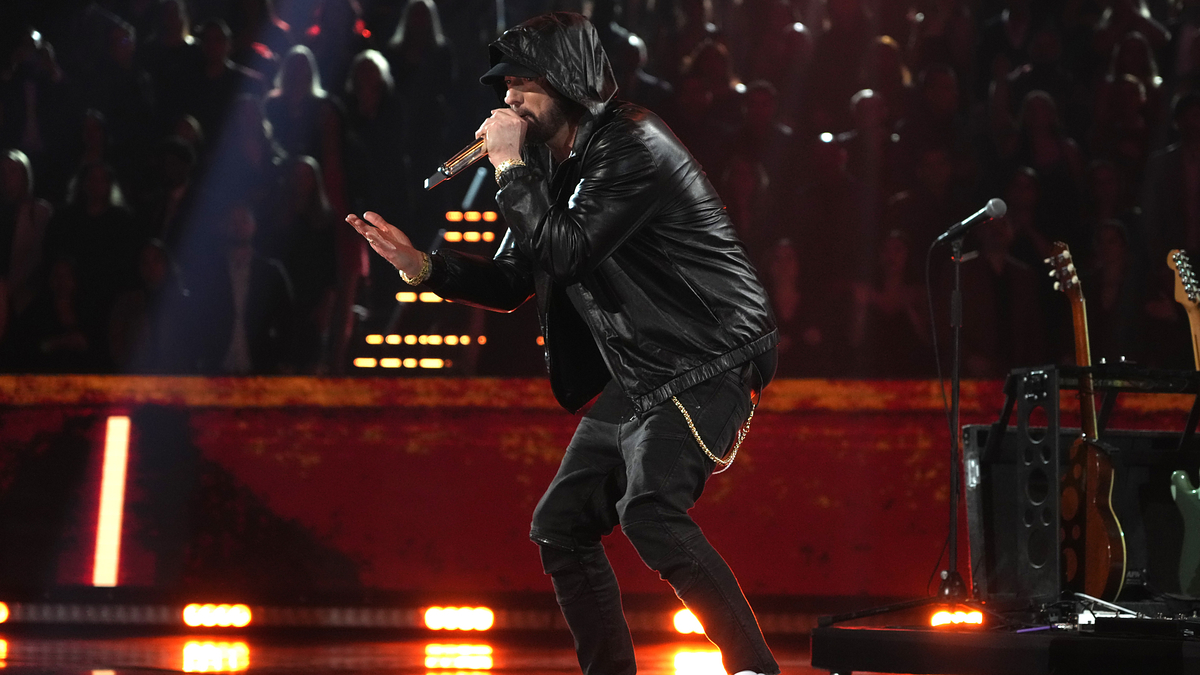
Music | by Trace William Cowen Eminem Announces ‘The Death of Slim Shady’ for This Summer: Here’s What Fans Are Saying 
Pop Culture | by Jose Martinez Ellen DeGeneres Speaks Out About 'Getting Kicked Out of Show Business' on Stand-Up Tour 
Music | by Joshua Espinoza ScHoolboy Q Insists Top Dawg Isn't Behind Kendrick Lamar and SZA Album Delays 
Music | by Alex Ocho Beyoncé Sent Flowers, Toy to 2-Year-Old ‘Friend’ Tyler After Toddler's Video Went Viral

Sign up for the
ComplexNewsletter
Your leading source for what’s now and what’s next in Music, Style, Sports, and Pop Culture.
By entering your email and clicking Sign Up, you’re agreeing to let us send you customized marketing messages about us and our advertising partners. You are also agreeing to our
Terms of Serviceand
Privacy PolicyThis site is protected by reCAPTCHA and the Google Privacy PolicyandTerms of Serviceapply.